Tesla Seat Cover Installation Guide for Beginners (with Video Tutorial)
Share
🧰 Introduction
Tesla interiors are known for their minimalism and futuristic design. To protect your original seats and personalize the look, seat covers are a great option. But are they hard to install? Not at all!
In this blog, we’ll walk you through the step-by-step installation for Tesla Model 3/Y, with a helpful video tutorial to make the process effortless—even for first-timers.
🔧 Step 1: What’s in the Box?
Make sure you have the following items before starting:
- ✅ 4× Front seat covers
- ✅ 2× Rear seat backrest cover
- ✅ 1× Rear seat cushion cover
- ✅ 5× Headrest covers (depending on the model)
- ✅ Hooks, and Velcro straps,
We recommend watching the installation video in advance.
🪑 Step 2: Installation Steps (Model 3/Y)
🔹 Front Seats
- Slide the cover over from the top to the bottom
- Tuck in the sides neatly, secure the bottom with straps
- Use hooks to fasten the cover under the seat
- Add headrest covers (if removable) and adjust for a clean fit
🔹 Rear Seats
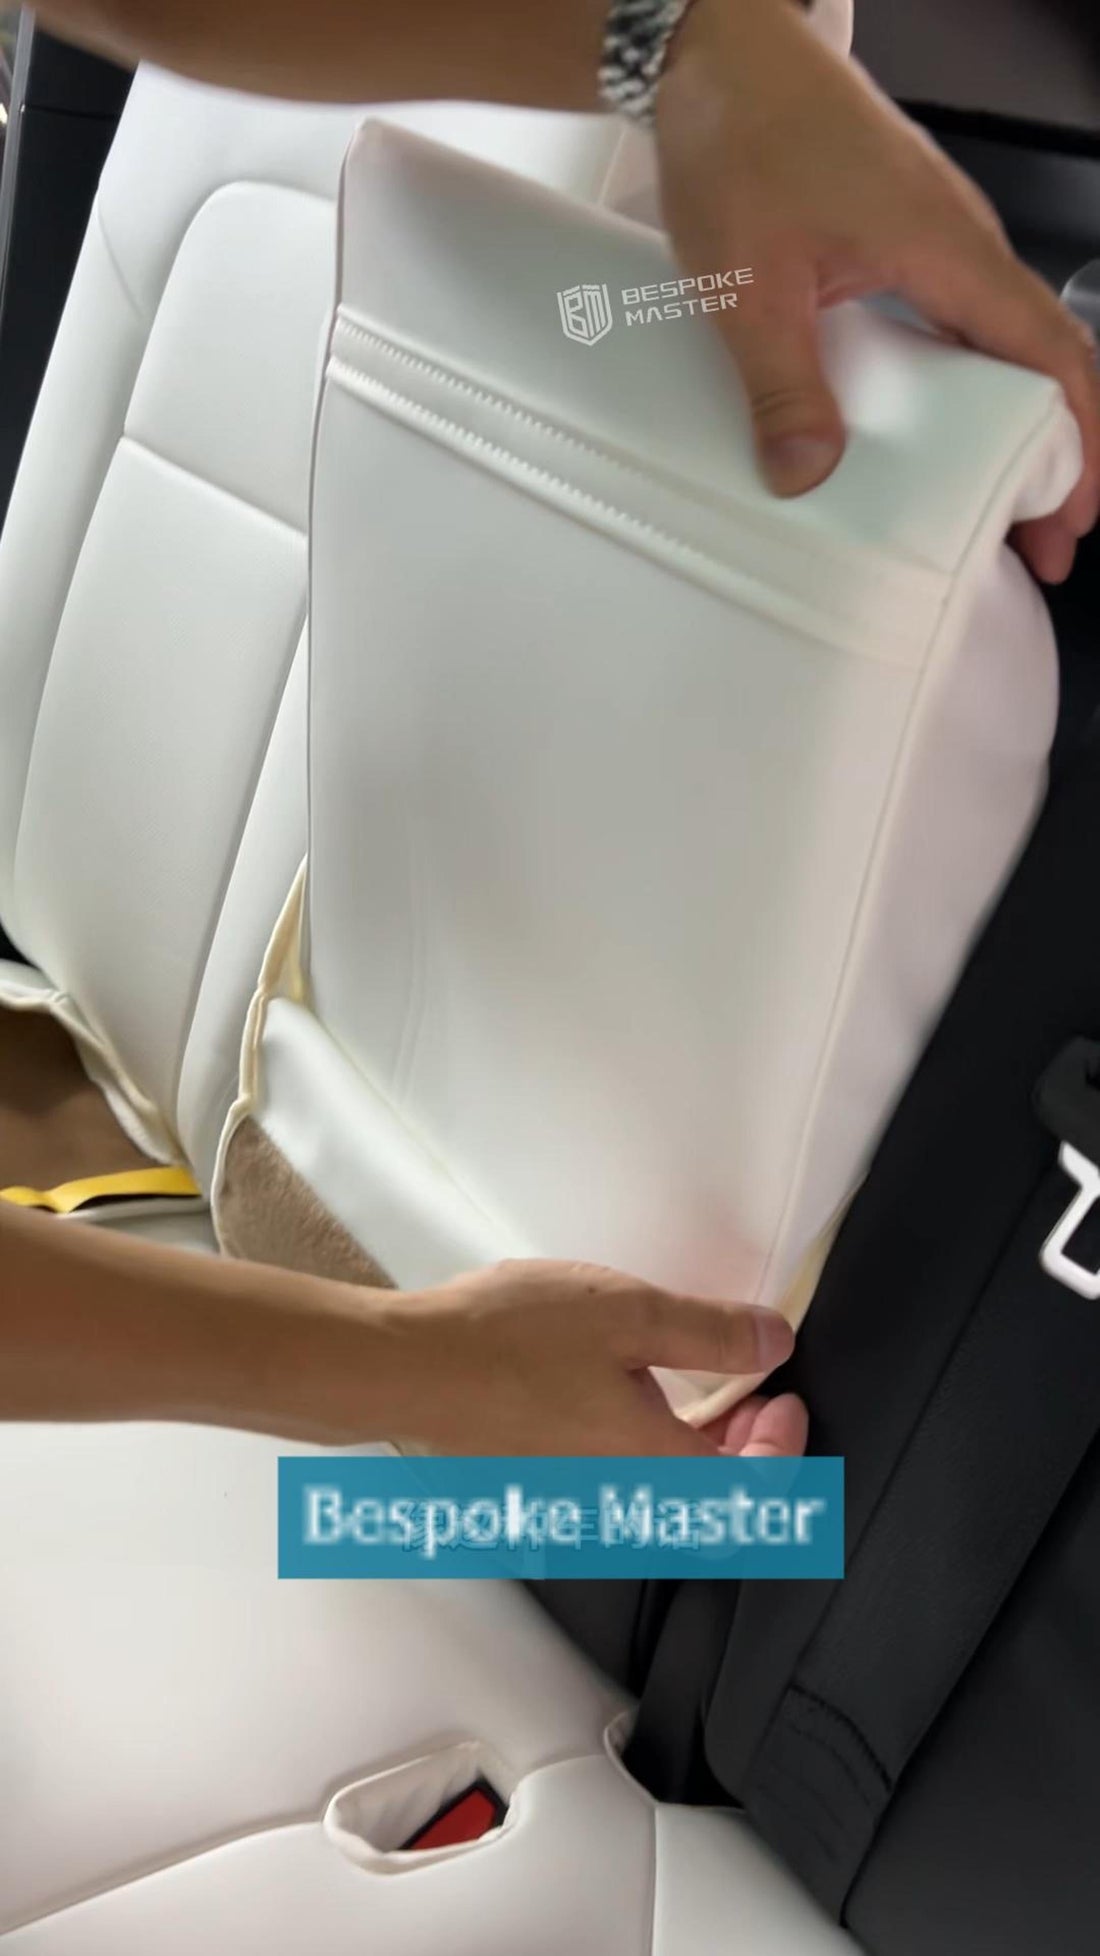
- Install the backrest cover in sections (some models are split-folding)
- Pull seatbelts through and align openings
- Flip the rear seat bottom (Model Y allows this) and install the cushion cover
- Use Velcro, zippers, or hooks to secure everything
💡 Tips for a Perfect Fit
- 💡 Choose custom-fit covers made for Tesla seats
- 🧼 Wash your hands before installation to avoid staining light-colored covers
- 🛠 Use a plastic card or tool to help tuck edges into tight spaces
🎥 Recommended Video: Model Y Full Installation
Want to see the full process? Watch this 5-minute tutorial that shows everything from unpacking to the final look. 👉 [Protect and Elevate Your Tesla]
✅ Final Thoughts
Installing Tesla seat covers isn’t difficult, especially with custom-fit products. You’ll protect your investment and give your interior a sleek new style—all by yourself. Save money and time with this simple upgrade!
