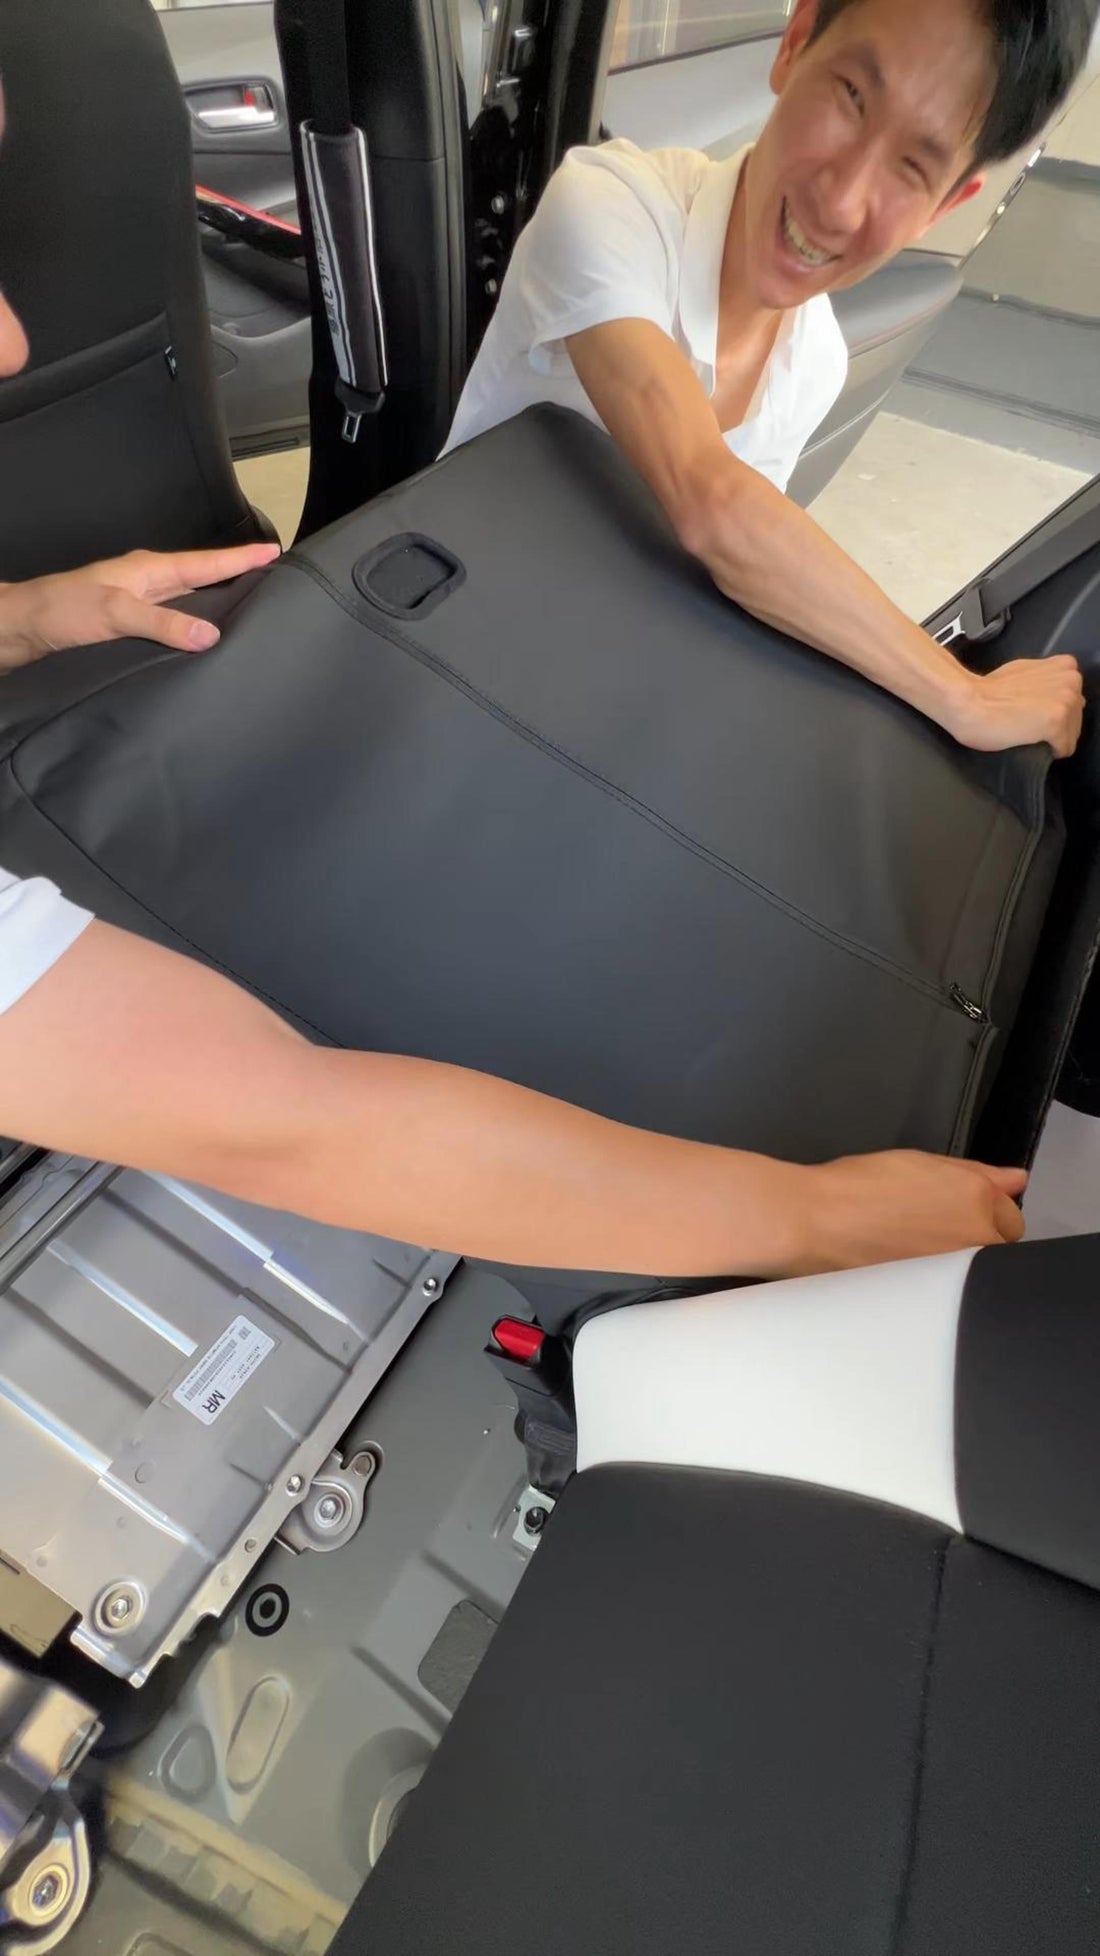
Easy Car Seat Cover Installation for Beginners — No Need to Remove the Seats (With Video Guide)
Share
Worried that installing car seat covers is too complicated? Not anymore! Many seat covers are now custom-designed for specific car models, allowing for a perfect fit without removing the seats. Even first-time DIYers can get it done with ease. This guide will walk you through the process step by step — plus we’ve included some helpful video tutorials to get you started!
Why Choose “No Seat Removal” Seat Covers?
- Safer – No risk of damaging airbags, wires, or seat mechanisms
- Time-saving – Install in just 15–30 minutes without tools
- Better fit – Model-specific design ensures a seamless and snug installation
What You’ll Need Before You Start
- Correct seat cover model for your car (custom-fit recommended)
- Clean surface – Wipe down the seats for better adhesion and appearance
- Read the instructions – Understand the layout (backrest, seat base, headrest) before starting
Step-by-Step Installation (No Seat Removal Needed)
- Backrest cover – Slip it over the top, align it properly, and fasten using Velcro or zippers
- Seat base – Insert the straps through the seat gaps, pull tight from the back, and secure
- Headrest cover – Remove the headrest, cover it, and insert it back
- Check safety features – Make sure seat belts, airbags, and seat controls remain accessible
Pro Tips for First-Time Installers
- Use a plastic trim tool to tuck the covers into tight spaces
- Pull the covers tight as you go to avoid wrinkles
- Take pictures during the process to remember strap placements
